Sun 20 Sep 2020
A SPICE FOR YOUR EQUIPMENT
Posted by Culinary CrewRead other related stories: Commercial , Cooking , Dr Smoke , Handheld Smoking , Smoking Dust , Smoking Tips , Stovetop Smoking
No Comments

A SPICE FOR YOUR EQUIPMENT: SMOKIN’ DUST®
There seems to be some legend out there that wood-fired cooking methods are all about the endless hours of tending food and fire that produce taste results that are only granted to a small percentage of committed cooks; nothing could be further from the truth. Ready for simple methods of wood flavor infusion that do not take stockpiles of wood and equipment so large, you start thinking about adding on to your house?
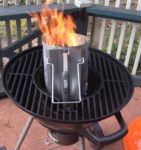
Wood-fired cooking includes the simplest methods of wood infusion like the current rage with hand-held food smokers or even the stovetop smoker. Kitchen gadgets that have opened the door to anyone who wants to explore the fragrant and flavorful bounty that awaits all foods and beverages. One thing that still is evolving is the concept of spices not for your food but for your equipment!
If you’ve read some of our previous articles on wood flavoring you’ll come to understand and appreciate that there is no set rule on wood-fired cooking. Oh, yes, there is plenty of science when it comes to cooking with fire or as I like to say when you combust to flavor, which is what you are accomplishing with wood for cooking. I feel more attention should be given to the actual wood products; rather than focusing on the ingredients to the foods being cooked.
Wood is an ingredient
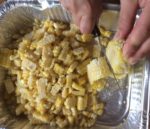
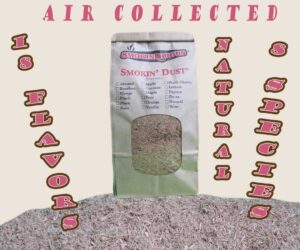
First, wood to us IS an ingredient, one that still needs to be balanced with the other components to bring forth a food memory. As an ingredient, the easiest by far to manage for wood flavor infusion is sawdust or in our Company’s listing, Smokin’ Dust®. Compatible with all types of equipment, Smokin’ Dust® literally becomes a ‘spice’ for your equipment.
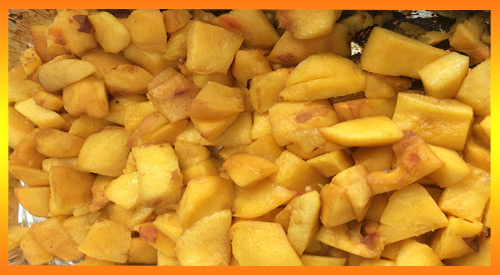
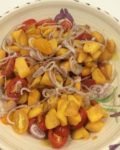
Thinking of island flavors of pineapple, coconut, and mango for a recipe? Why not add one or more of those flavorings through the wood product? Yes, using all-natural flavoring infused into our Smokin’ Dust® is one of the quickest methods of getting the great flavor to a specific regional dish. With 15 flavor-infused options that are 100% all natural, designed for cooking, and infused in hardwood, as well as 8 natural hardwood flavors, we’ve given new meaning to the word ‘spice’ as ours can now apply to the wood product! Remember, applewood doesn’t smell or taste anything like an apple. Use our apple infused product, and you’ll experience hints of cinnamon, nutmeg, and the bite of an apple!
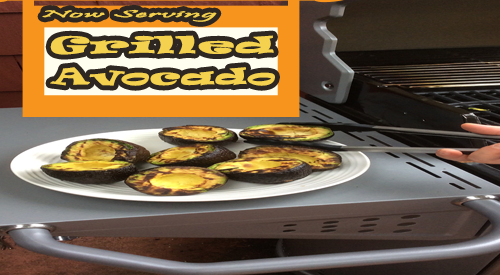
Why settle for a run-of-the-mill smoking sawdust product that you don’t know where it comes from? A softwood, swept from the floor, shoveled from the ground, or worse, taken from under an animal? Instead, get excited about the flavor opportunities awaiting you and your equipment when you use a smoking sawdust product from a real cooking wood company. Get excited about the opportunities out there to experiment with, whether for hot smoking, cold smoking, handheld food smoking, stovetop smoking, or even traditional LP and charcoal grilling. And get ready to experience the world through flavor aroma!

Dr. Smoke- “Smokin’ Dust is one of our most customized and versatile cooking wood product.” which is a spice for your equipment

More Related reading on this subject