Wed 2 Jan 2019
DRY RUBS MADE EASY BY YOU!
Posted by DrSmokeRead other related stories: Cooking , General Smoking Information , Recipes
No Comments
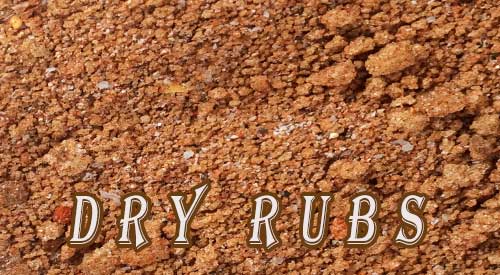
SO YOU WANT TO MAKE YOUR OWN DRY RUBS Share on X

I love the idea of making your own dry rubs for a variety of reasons, but primarily to allow the cook to control the amount of salt and sugar, two ingredients that are in high ratios for many jarred rubs.
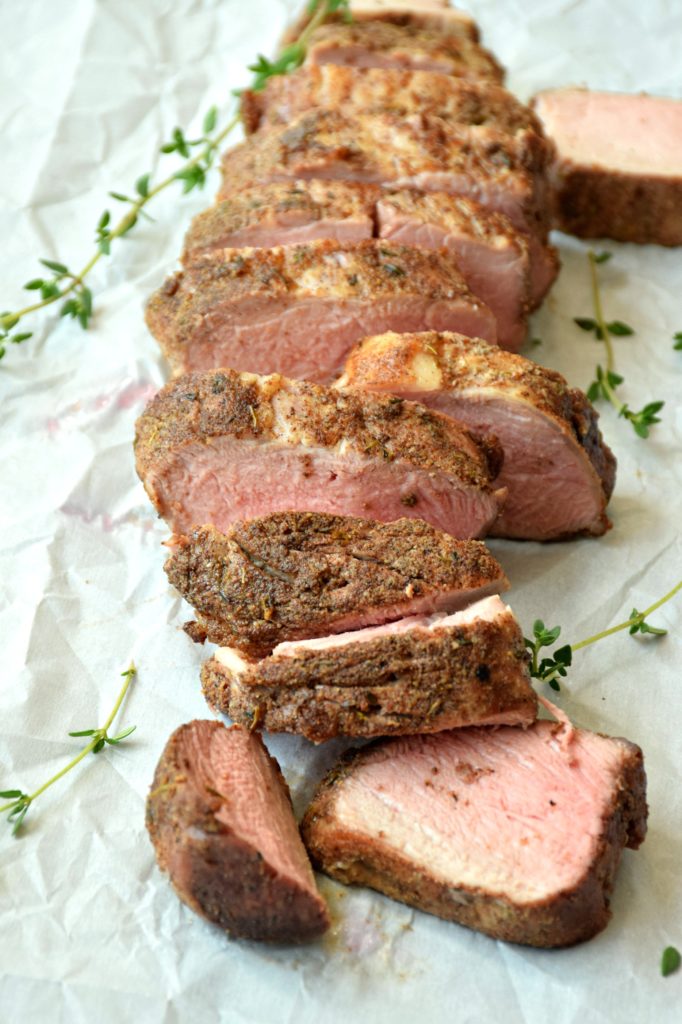
This guide is intended to provide tips to achieve a balance of flavors in the ingredients selected. I’m also going to provide listings of ideal ingredients for specific proteins to help stimulate your creative juices.
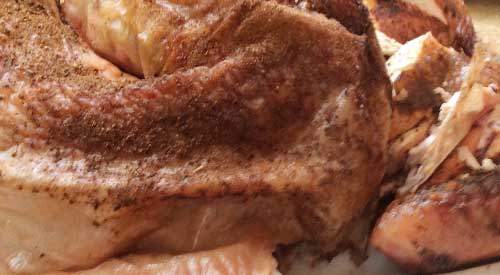
Dry Rubs Made Easy- Percentage of Water
Before we begin with the actual ingredients for dry rubs , let’s discuss the composition of meat and poultry and why you need to be aware of water content.
Although you may not think of water this way, water is a chemical and it is the dominate one in meat, followed by protein and then fat. For a less active, mature, “fat” animal, water can be 45% of the composition but for a younger, leaner animal it can be as much as 72% moisture. Remember, fat cannot hold water. Texture, color and flavor are affected by the amount of water in the muscle tissue. Water that is retained during forces of pressure and temperature is referred to as “bound water” while water that is lost is called “free water”. You can change the capacity of the muscle to hold the water by disrupting the muscle structure. Examples would be grinding, freezing, chopping, thawing, and salting meat.
Dry Rubs- Salt and Sugar
Hopefully, you are aware of the ingredient rule that states the first few ingredients listed on a nutritional label are the highest percentages of that item. That means, when you see salt and sugar listed in the top three ingredients, note that those dominate the rub .
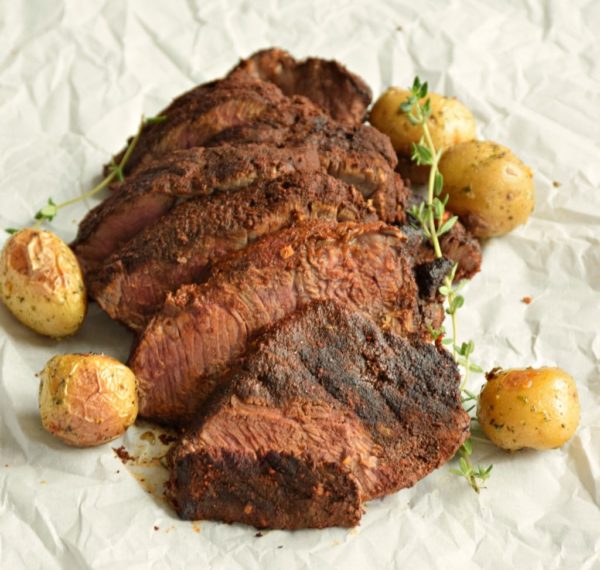
Research has shown that higher salt content works very well with cuts of beef, fish, and wild game. Pork tends to do well with rubs that contain higher sugar levels. However, I tend to avoid putting salt into my rubs, preferring to add by hand when the food is ready.
Let’s breakdown the types of salt and sugar so you know how to incorporate them.
Table or Refined Salt: a fine grade salt that is made by dissolving in water which removes everything but sodium chloride. These usually have an additive to prevent them from caking in dispensers and may also contain an iodine additive.
Kosher Salt: a coarse grain that may have an anticaking additive, it is slower to dissolve on food surfaces.
Sea Salt: most are refined producing just over 99% sodium chloride but the grain size can vary from brand to brand.
Pickling Salt: contains no iodine or anticaking additive and dissolves well in water making it ideal for brine recipes
Seasoned Salts: a refined salt that contains a flavor ingredient such as garlic, onion, celery
Curing Salts: these should never be used as an ingredient in a rub as they are designed to preserve meats, which means they include nitrite and possibly nitrate.
White Sugar: this is a highly refined cane or beet sugar that can scorch at higher temperatures
Brown Sugar: this is white sugar combined with molasses so it tends to add more flavor
Dry Rubs- Pepper
It’s important to have some level of heat in your rub to balance the sweet and savory ingredients but you need to have a tempered hand to ensure that you don’t add to much. Let’s look at the pepper options:
White Pepper: considered the gentle pepper, it’s light in color and flavor with just a warm heat undertone.
Black Pepper: this can be fine or coarse and has much higher heat level than white and some cayenne peppers.
Cayenne: although I’m listing this separately due to its popularity, cayenne is a chile powder known as ground red pepper, the heat level is front of the line which means you need to add small quantities and taste before adding more.
Chile Pepper: these are the peppers that have a wide variety of heat levels. Common names include: Ancho, Chipotle, Pasilla, New Mexican, Guajillo, Habanero, Jalapeno, Bhut Jolokia, Aji Amarillo.